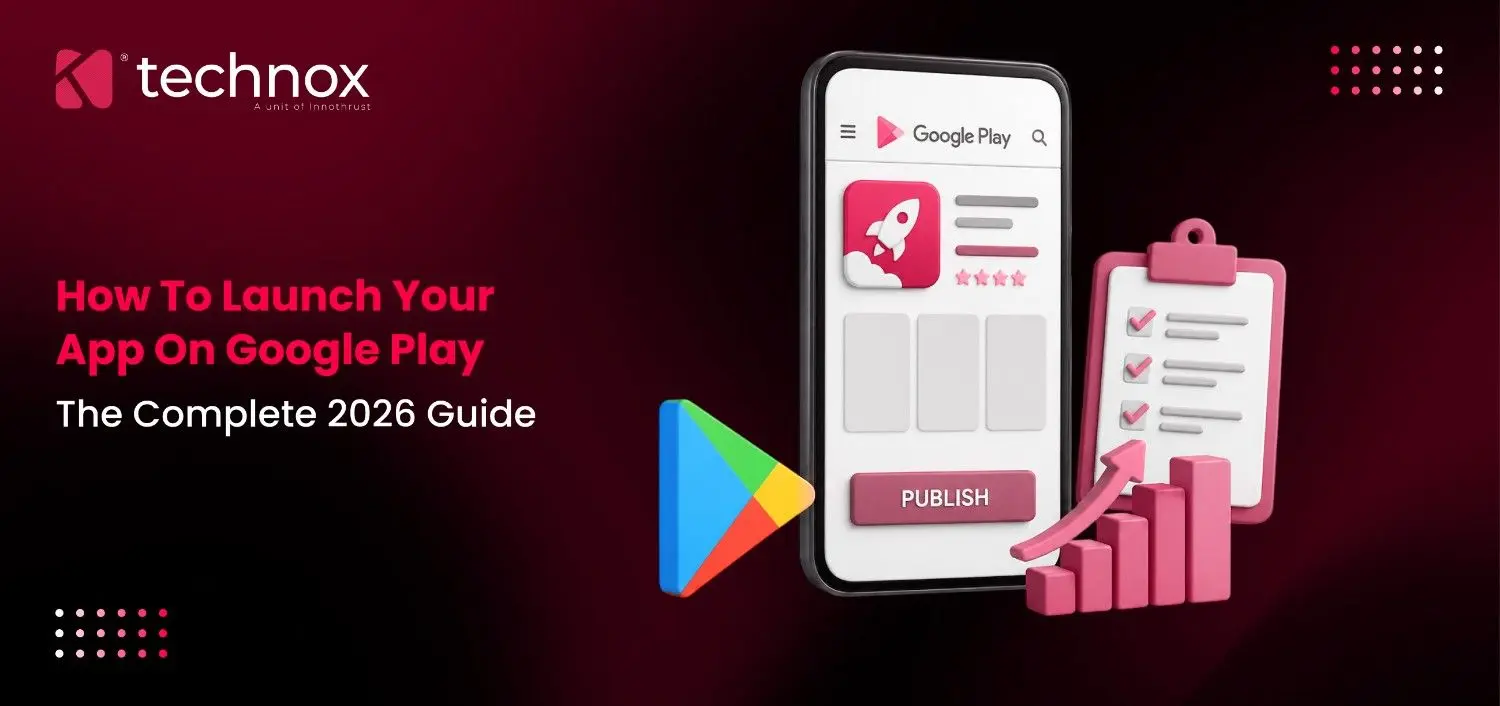
Quick Answer
To launch an app on Google Play, you need a Play Console developer account, a completed and tested app in the Android App Bundle (.aab) format, a privacy policy, a finished store listing, and Google's approval after review. In 2026, two extra steps catch most first-time businesses off guard: developer identity verification and, for new personal accounts, a mandatory 14-day test with real users before your app can go live. Plan for these upfront, and the rest of the process is straightforward.
Why 2026 Launches Take Longer Than You'd Expect
If you've read an older guide or asked around, you may have heard that publishing an app is quick — upload, wait a day or two, done. That used to be closer to true. It isn't anymore.
Google has added two requirements in the last couple of years that add real time to a first launch:
Developer verification. Every developer on Google Play now needs to confirm who they are before their app can go live. Google says this is to fight malware — its own data shows apps installed outside verified channels carry far more malware than apps on Google Play. If you're setting up a brand-new account, this can take anywhere from a few days to a few weeks, especially for a business account that needs a D-U-N-S number.
A mandatory test period for new accounts. If you're publishing your first app on a new personal developer account, Google requires you to test it with at least 12 real people for 14 days in a row before you can even apply to go live. This isn't optional, and it isn't quick — the 14 days only count if your testers stay active the whole time.
Add typical review time on top of that — usually 7 to 14 days for a brand-new account, or just 1 to 3 days once you have a track record — and a realistic first-time launch takes 3 to 5 weeks, not 3 to 5 days. Knowing this upfront means you can plan your marketing and launch date around reality instead of guesswork.
What You Need Before You Start
Get these ready first. Having them prepared in advance is the single biggest thing that speeds up a launch.
A Google Play Developer account (one-time $25 fee) — and your identity verification completed
A finished app, built as an Android App Bundle (.aab file) — this is the format Google requires now, not the older APK file
A live privacy policy hosted on a real URL
A completed Data Safety form that honestly matches what your app actually does with user data
Store listing content: app title, short description, full description, app icon, screenshots, and a feature graphic
A content rating completed through Google's questionnaire
12 real testers lined up, if you're on a new personal developer account
A working backend — payments, logins, and any integrations tested and stable
If several of these are missing, that's completely normal at this stage — it just means you should budget more time, or bring in help to close the gaps quickly.
Step-by-Step: How to Launch Your App on Google Play
Step 1: Set up and verify your Play Console account
Create your account, pay the one-time registration fee, and complete developer verification. Decide early whether to register as an individual or a business — a business account looks more credible and unlocks more features, but takes longer to verify.
Step 2: Create your app listing in Play Console
Give your app a name, pick its category, set your default language, and choose free or paid. Get the name right the first time — changing it later can confuse users and hurt your search ranking.
Step 3: Fill in the required app details
This includes your app's category, contact details, privacy policy link, target audience, and whether it contains ads. Fill these in accurately — mismatched or vague answers here are one of the most common reasons apps get flagged during review.
Step 4: Upload your Android App Bundle (.aab)
Make sure it's your final, production-ready build — not a test or debug version. Google automatically scans every upload for security and policy problems, so a stable, clean build here saves you a rejection later.
Step 5: Complete the Data Safety form
Explain what data your app collects, why, and whether it's shared with anyone else. This needs to match your app's actual code, not just your original plan — Google checks this closely, and it's one of the top reasons launches get delayed.
Step 6: Build your store listing
Add your screenshots, app icon, feature graphic, and descriptions. This is what people see before they decide to download, so treat it like a mini landing page, not paperwork — more on this below.
Step 7: Test your app before going live
Google gives you three testing options:
Internal testing — a small group, fast feedback, good for early bug-catching
Closed testing — a wider group you invite; required for new personal accounts (12 testers, 14 days)
Open testing — anyone can join; useful if you want public beta feedback
Use closed testing even if you're not required to — it's the cheapest way to catch problems before real users see them.
Step 8: Set pricing, countries, and age rating
Choose which countries can download your app, your pricing model, and complete the age rating questionnaire. If you're launching in multiple countries, consider translating your screenshots and descriptions too — it noticeably improves downloads in non-English markets.
Step 9: Submit for review
Once everything above is complete, apply for production access. Google checks your app for policy compliance, safety, and accuracy of what you've declared. This is separate from the earlier automatic scan — it's the human-and-automated review that decides whether you go live.
Step 10: Go live — ideally with a staged rollout
Instead of releasing to 100% of users immediately, you can release to a small percentage first (say, 5–10%) and expand gradually. This lets you catch crashes or problems early, before they affect everyone. It's a small extra step that meaningfully reduces launch-day risk.
Your Store Listing Is Not Paperwork — It's Your Sales Page
A lot of businesses treat the app title, screenshots, and description as boxes to fill in. That's a mistake. This is the page that decides whether someone downloads your app or scrolls past it — and it also affects how Google Play ranks you in search.
Industry data from AppTweak puts the average Google Play conversion rate — the share of people who visit your listing and then install — at around 27.3%. That means even a decent listing loses roughly 7 out of 10 visitors. A weak one loses far more.
A few simple things make a real difference:
Put your main keyword naturally in the title and short description. Google Play's search does look at this — but stuffing in keywords unnaturally now hurts more than it helps.
Lead your screenshots with the outcome, not a feature list. Most people only look at the first two screenshots. Show them what problem your app solves, immediately.
Reviews matter more than the star rating alone. An app with 4.3 stars and 4,000 reviews often ranks above a 4.6-star app with only 40 reviews — Google treats review volume as a trust signal.
Watch your uninstall rate. If people install through ads and then delete the app quickly, Google Play treats that as a quality problem and can quietly reduce your visibility, even while you keep paying for ads.
Common Reasons Apps Get Rejected (and How to Avoid Them)
Most rejections aren't about bad code. They're about small gaps in preparation. The most frequent ones we see:
Fixing these before you submit is far faster than fixing them after a rejection — a rejected app restarts the review clock from zero.
What Happens After You Go Live
Publishing isn't the finish line — it's the start of the part that actually determines your app's growth. In the first two weeks after launch, keep an eye on:
Crash reports and app freezes (ANRs) — fix these fast, they hurt both users and your ranking
Reviews and ratings — respond to early feedback, it shapes how new visitors judge your listing
Uninstall rate — a spike here early on is worth investigating immediately
Where your downloads are coming from — organic search, ads, or social — so you know where to invest next
This is also the point where your app benefits from being connected to the rest of your online presence — a website, blog content, and search visibility that bring people to your Play Store listing in the first place, rather than relying on the Play Store's own search box alone. A simple landing page for your app, built with clean structure and fast load times, also helps both Google Search and AI tools like Google AI Mode understand and recommend your app when people ask about it. If you want to go deeper on that side, our guide toGoogle AI Mode optimization explains how that works in plain terms.
Should You Do This Yourself or Get Help?
If you already have developers on your team, you may only need help with the launch process itself — verification, testing, compliance, and the store listing — rather than the app build.
Do it yourself if:
You already have Android developers on staff
This isn't your first Play Store submission
Your launch date has flexibility if something gets delayed
Get help if:
This is your first time publishing on Google Play
Your launch date is tied to a funding round, event, or marketing campaign
You want the store listing itself professionally optimized, not just technically complete
You'd rather focus on running the business than learning Play Console's policy rules
A specialist team that has been through this process before can usually run verification, testing, and store-listing work in parallel with your development team — which is often the single biggest way to shorten your launch timeline. This is exactly the kind of work ourmobile app development team handles for founders who'd rather not learn Play Console the hard way.
Cost and Timeline at a Glance
For a first-time launch on a new developer account, plan for 3 to 5 weeks. This covers verification, the mandatory 14-day test, and review. Established accounts can go live in a few days. Yes. All developers on Play Console now need to complete identity verification before their app can be published or updated. If you're on a new personal developer account, Google requires you to test your app with at least 12 real people, opted in continuously, for 14 days before you can apply to go live. Business accounts are currently exempt from this specific rule. Google charges a one-time $25 registration fee. There's no separate fee to publish each app — your main costs are development, testing, and marketing. An APK is a ready-to-install file. An AAB (Android App Bundle) is the format Google now requires — it lets Google Play build a smaller, optimized version of your app for each user's device automatically. The most common reasons are inaccurate Data Safety disclosures, requesting unnecessary permissions, crashes, and store listings that oversell what the app actually does. There's no paid fast-track. The best way to avoid delays is to get your Data Safety form, privacy policy, and content rating right the first time — a rejection restarts the clock. A staged rollout releases your app to a small percentage of users first, then expands gradually. It's a smart way to catch problems before they affect everyone, and we recommend it for most first launches. Yes. Every app on Google Play needs a live, hosted privacy policy link, regardless of how much data it collects. If you already have developers but no Play Store experience, hiring help just for verification, testing, and the store listing is often enough — and it can run in parallel with your development work instead of adding time to it.FAQs
1. How long does it take to launch an app on Google Play in 2026?
2. Do I need to complete developer verification if I only publish on Google Play?
3. What is the 14-day testing rule?
4. How much does it cost to publish an app on Google Play?
5. What's the difference between an APK and an AAB?
6. Why do apps get rejected on Google Play?
7. Can I speed up the review process?
8. What is a staged rollout, and should I use one?
9. Do I need a privacy policy even for a simple app?
10. Should I hire an agency just for the launch, or only for building the app?